Tag Archives: Tamagotchi L.i.f.e. blog
T-L.i.f.e. Blog:
DIY: Inspired By Colored Glass
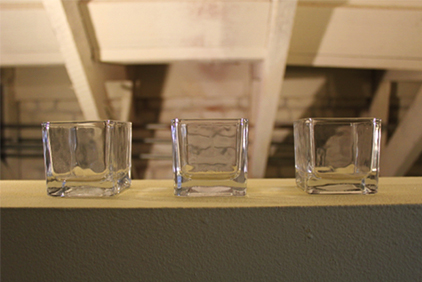
I cannot count the number of times I have had to get rid of perfectly good vases and candleholders because I simply don’t know what to do with them. Think about what’s left after the flowers die or when your candles’ wick is no more….what do you do with all those perfectly fine glass bottles and jars?
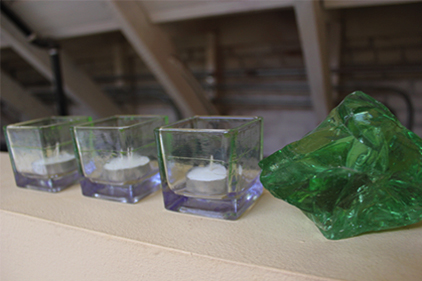
Add some color to them and—ta-da!—you have a new place to put pens and pencils or to hold your makeup brushes. I decided to turn three of my old vases into candleholders inspired by my favorite piece of room decoration. Since Tamagotchi L.I.F.E is all about color, I’m pretty excited to show you how I added some color to my room.
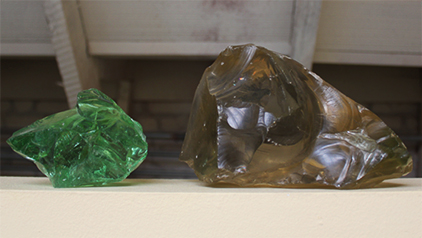
I had purchased these from a thrift store before coming to college and it is the only piece of decor I have kept throughout the years. So, I decided to create my own colored-glass inspired candle holders.
Materials:
- ANY glass (so many possibilities…revive old vases, retired candle holders)
- Glass paint
- Paintbrush
Directions:
1. Apply tape wherever you would like a distinct border between glass colors
2. Begin layering paint
*There is no wrong way to do this. The paint dries quickly and layers thinly so you are able to ‘fix’ any decision you aren’t thrilled with
3. Allow to dry
4. Remove tape
5. Layer paint
6. Repeat steps 1-5 to achieve the look you want
This is truly a DIY based on individual taste. The best part of this DIY is that you can achieve a ton of different looks based on your color and tape decisions.
Blog Post By: Keanne Okabayashi, Los Angeles, California
T-L.i.f.e. Blog:
February Sweetheart Styles: DIY Caviar Manicure
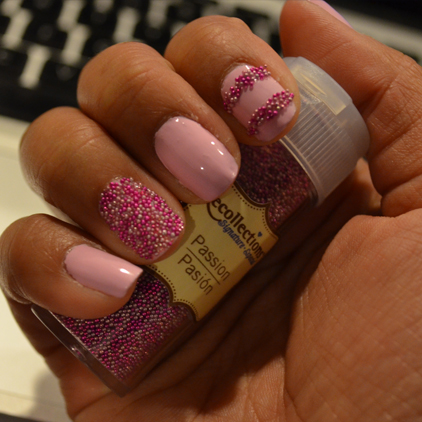
February is the Month of Love and that means it’s time to put together those February Sweetheart styles. Along with the perfect dress, shoes, and accessories, a bright and fun manicure can help pull the whole look together!
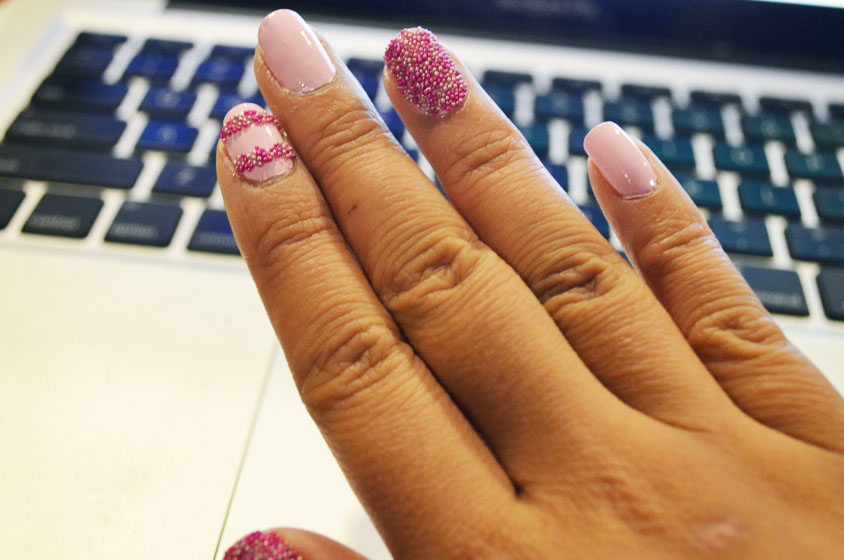
Tamagotchi L.i.f.e. is all about trying new trends, and what better time is there to try something new than in the Month of Love? Caviar manicures have been seen photographed on many celebrities and all over fashion runways. There are nail kits out there that sell caviar nail polish for about $25 a bottle, but these nails can be easily replicated with microbeads from a craft store like Michael’s and your favorite nail polish.
First, you want to make sure to pick a nail polish color that matches the beads in case the beads don’t completely cover your nail. If you will be doing a complete caviar manicure, it is important to paint one nail at a time so that the beads will stick before the polish dries.
Once you paint your nail, you want to immediately pour the beads over your nail, using a bowl to catch any beads that fall. If your manicure looks bumpy you can push the beads down with your finger to smooth it out. Be sure to let the nails dry completely before moving around too much so that the beads don’t start falling everywhere! Also, you might be tempted to add a clear top coat to seal the beads, but you shouldn’t because, trust me, it will make the beads bleed color and not look as 3D.
Once your nails are dry, that’s it! It’s so simple and looks just like the caviar manicure you would get from a kit. You can also change it up by only doing a caviar nail accent or mixing two bead colors together. However you do this manicure, it looks chic and stands out – just like you will this month!
